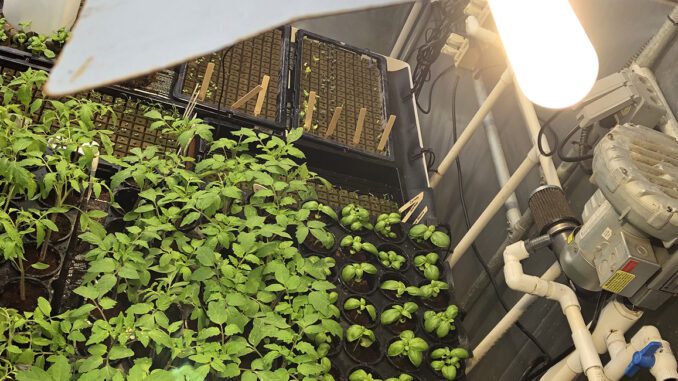

Growing Garden Transplants, Part Two Potting Up & Hydroponics
Grow Your Own, Fun & Easy
Welcome back to our series on growing garden transplants. In Part One of Growing Transplants, we discussed variety selection and went into detail on how to sow seeds for success and healthy transplants. In this instalment we’ll look at how you can give the best care for your seedlings so they stay strong and sturdy. This is a very important step in having heavy harvests later on–weak transplants, besides hurting harvest potential, tend to attract pests and other problems that cost you time and resources to battle through the season.
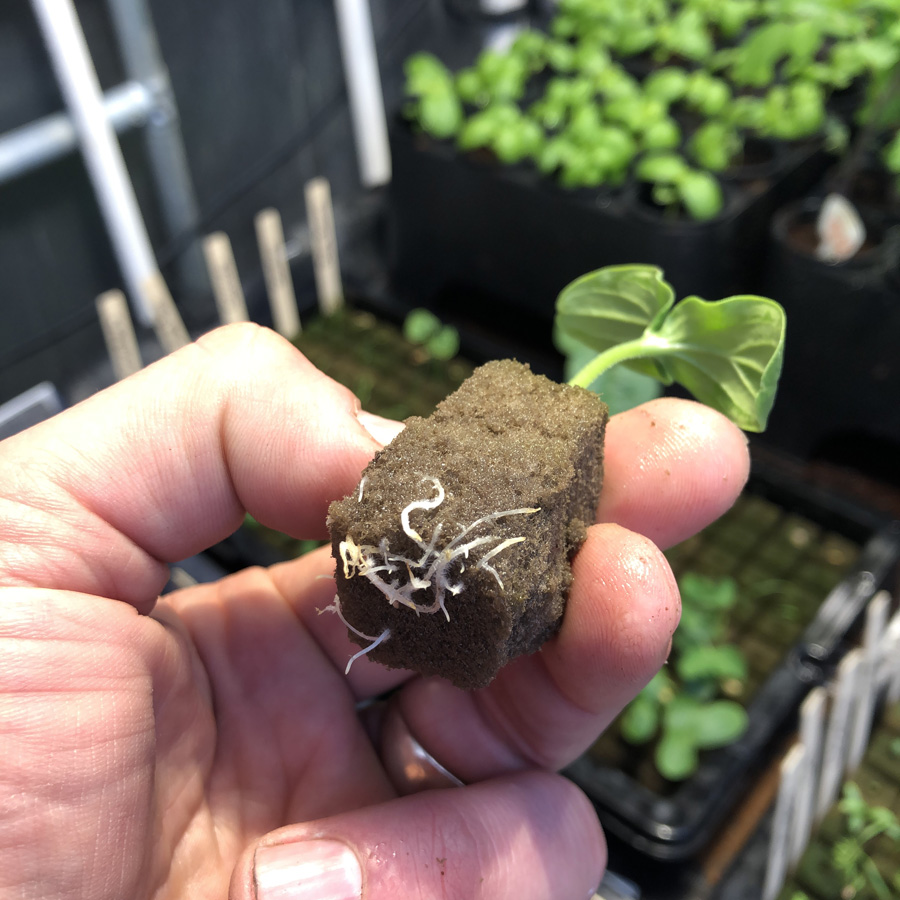

[quote]Temperature is critical, it governs all living reactions–if supplying good light levels means overheating your plants, back off. Most veggies, herbs and flowers will thrive with a temperature range of 65 to 80 deg F–leafy greens like spinach, kale or lettuce may prefer it cooler, ie 65 to 72 deg F.
[/quote]
We’ll also talk about growing garden transplants for hydroponics–growing veggies and herbs in hydroponics is a great way to save water and enjoy no dirt gardening just about anywhere you can find the space.
In our final instalment to come, we’ll look at mother plants and cloning. However, as we stated in part one, it all begins with the seed so let’s pick back up where we left off now.
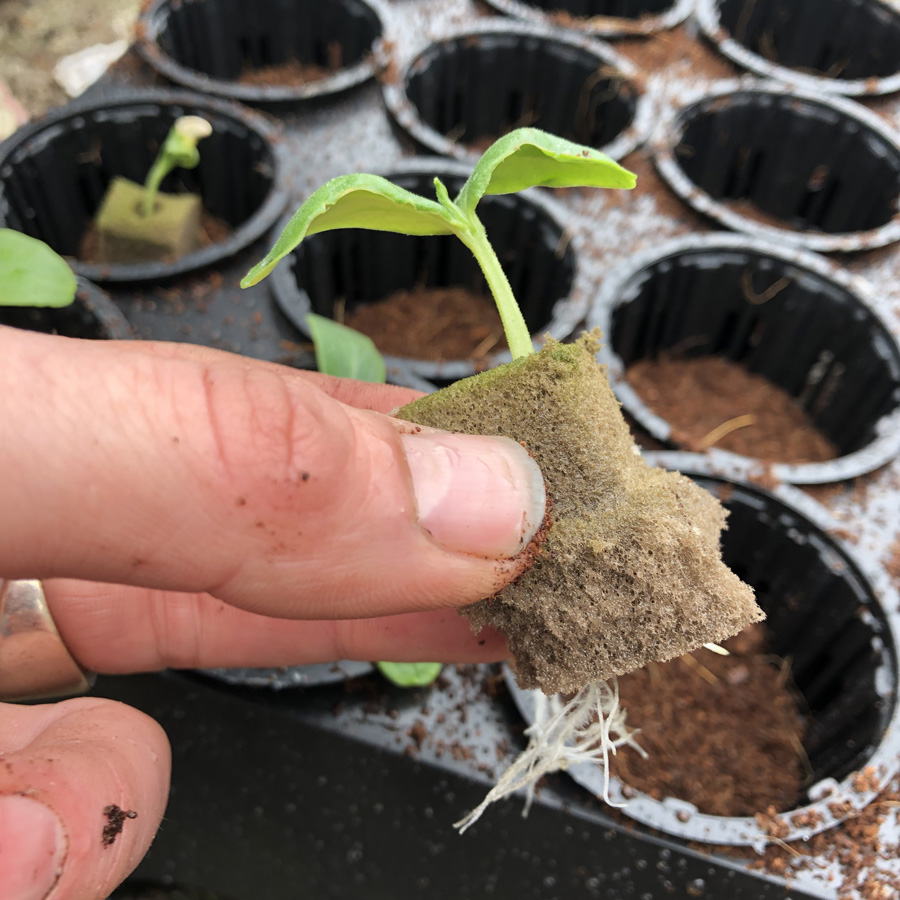
At this stage, depending on the germination conditions and variety selection, your seedlings have sprouted, emerged and have now developed their first true sets of leaves (not to be confused with the seed leaves that first emerge, ie “cotyledon” which hold stored food for the little plant sprout). In growing garden transplants, it is now time to ramp up the growing conditions to stimulate healthy and rapid development. This means increasing light levels, lowering humidity, fertilization, potting up and eventually “hardening off” the young plants before final transplant or delivery.
Growing Garden Transplants, Lighting
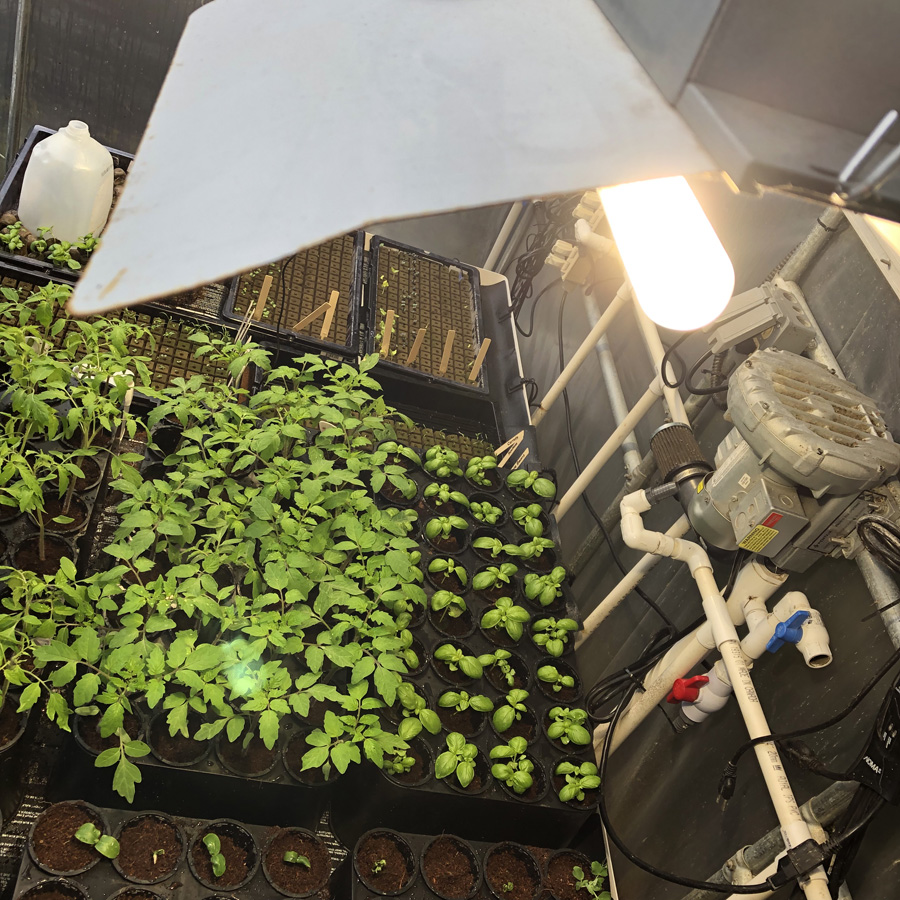
After seeds germinate, they will be in search of light. Initially, they just need to know which way is up (“phototropism”, growing towards light). However, once seedlings start to develop true leaves, they need more. A plant’s leaves are like solar reactors–they use light energy which they gather and combine it with water, nutrients and carbon dioxide from the air to make energy for growth and functions. A plant can only grow as healthy or as fast as it’s most limiting factor allows. Growing garden transplants like veggies and herbs typically means higher light levels are preferred. This isn’t to say you should start blasting your little sprouts with the highest light levels available just yet though.

Luckily, there are some workable light meter apps you can get for for FREE for smart phones. Here is an example: Click HERE.
Using common crop growth lighting sources like T-5 flourescent, LED grow lights, HPS (high pressure sodium and CMH (ceramic metal halide), typically 1200 lux is a good place to start with young plants.
NOTE for not a lot of money, you can invest in a light meter that measures in “micro mols” (uMols-1). This is a measure that is more specific to what plants use (PAR=photosynthetically active radiation), while lux is more just about the intensity of light versus the quality of light for growing crops. If you have a meter that measure in uMols-1, a reading of 150 uMols-1 is a good place to start to promote sturdy healthy growth in young light loving plants.
Some types of grow lights have a dimming function that allows you to tailor intensity (and sometimes even plant spectrum, ie LEDs). For everybody else, simply raise or lower your grow light source via chain or light hanging system until you achieve your desired reading at the tops of plants.
Most veggies, flowers and herbs will benefit from having 10-24 hours of supplemental grow lighting per day at the seedling stage.
ATTENTION TEMPERATURE! Temperature is critical, it governs all living reactions–if supplying good light levels means overheating your plants, back off. Most veggies, herbs and flowers will thrive with a temperature range of 65 to 80 deg F–leafy greens like spinach, kale or lettuce may prefer it cooler, ie 65 to 72 deg F.
Growing Garden Transplants, Humidity
Humidity in the atmosphere surrounding the plant leaves plays a strong role in how much water gets taken up by the plant and finally transpired through the leaves. Plants are “boneless” so they maintain their structure via the water they contain. If there is too great a difference between what the plant can take up and what it is losing through the leaves, plants begin to stress and wilt. Usually a mist can help them revive, but if this condition goes on for too long, they will arrive at their PWP (permanent wilting point), ie the point of no return. It is never wise to stress young plants–it is a beckon for insect and plant disease attacks–well hydrated plants resist problems much better.
However, too great a humidity level and plants aren’t able to give off all the water they take up–this causes stretching and soft weak growth when growing garden transplants–also a beckon for garden pests and problems. When you control humidity levels, you can have a strong influence over how much plants “drink”.
Typically, the ideal humidity range for young seedlings is 65 to 75% RH (relative humidity). As your seedlings begin to develop more sets of leaves, it’s good to allow humidity levels to drop lower gradually–never below 40% RH. A small mist type humidifier is inexpensive and invaluable for your young plants. You can add a Humidistat control to activate the humidifier once the RH drops below your set point; it will then shut off once the levels are back up.
Growing Garden Transplants, Fertility
Until your seedlings grow their first set of true leaves, the cotyledon (seed leaves) provide the young sprout with everything it needs–sort of a botanical mothers milk, if you will. From there, mots plant types will require additions of fertilizer. A complete and soluble fertilizer is recommended. Chelated trace elements are a good thing to look for in a formula, as well as have the Nitrogen supplied in Nitrate form versus Ammonium Nitrate. Ammonium Nitrate will cause young plants to exhibit soft and stretchy growth–it is very easy to over apply and burn young plants with Ammonium (NH4) based fertilizer sources. Typically, when using synthetic fertilizers, 1/8th strength is a good place to start–or if you have a digital dissolved solids tester, shoot for around 250-350 ppm or 0.4-0.5 EC. Apply fertilizer sparingly and ensure that you are using good quality water at the correct pH (pH 5.8 to 6.4), preferably filtered water or rain water. A simple and inexpensive DeChlorination filter like this one HERE can give you visibly better results.

What About Organics Growing Garden Transplants?
Certified organic soils and fertilizers can be a great option–provided you chose a type that is well suited for growing indoors versus outdoor field agriculture. Look for soils or fertilizers that don’t require further decomposition to break down organic nutrient sources to release fertility to plants. If this process hasn’t happened already, your tender young plants will experience a roller coaster of pH swings and fertility levels as decomposition occurs to release nutrients. Also look for types that are friendly to your nose if being used indoors.
Growing Garden Transplants, Potting Up
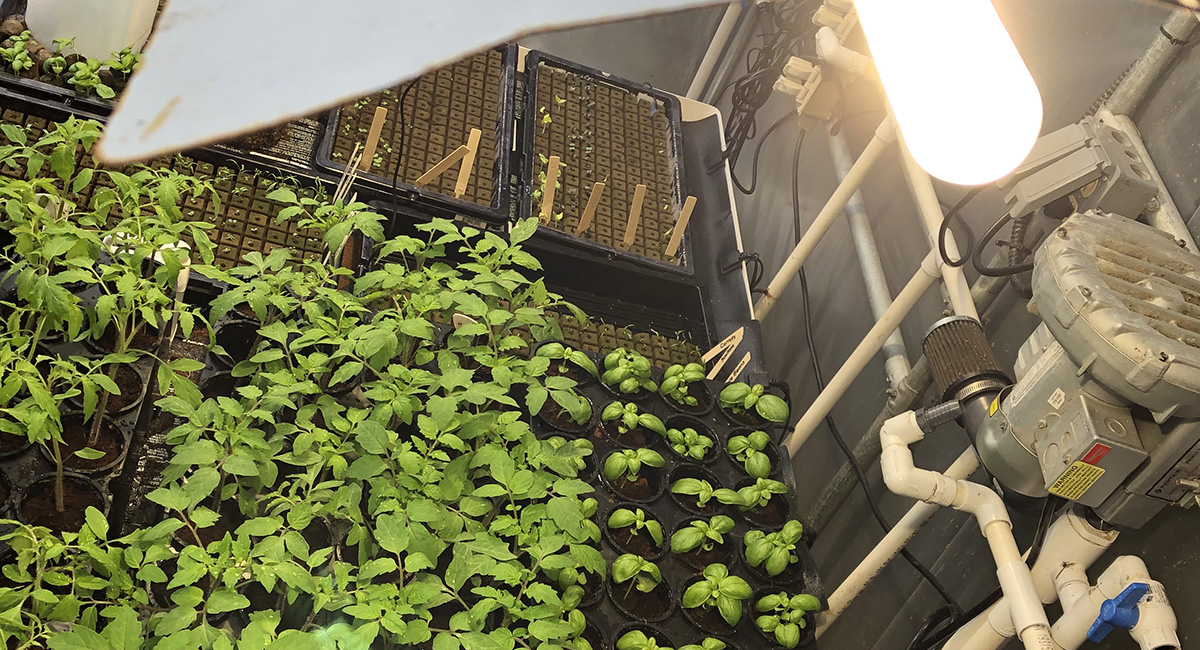
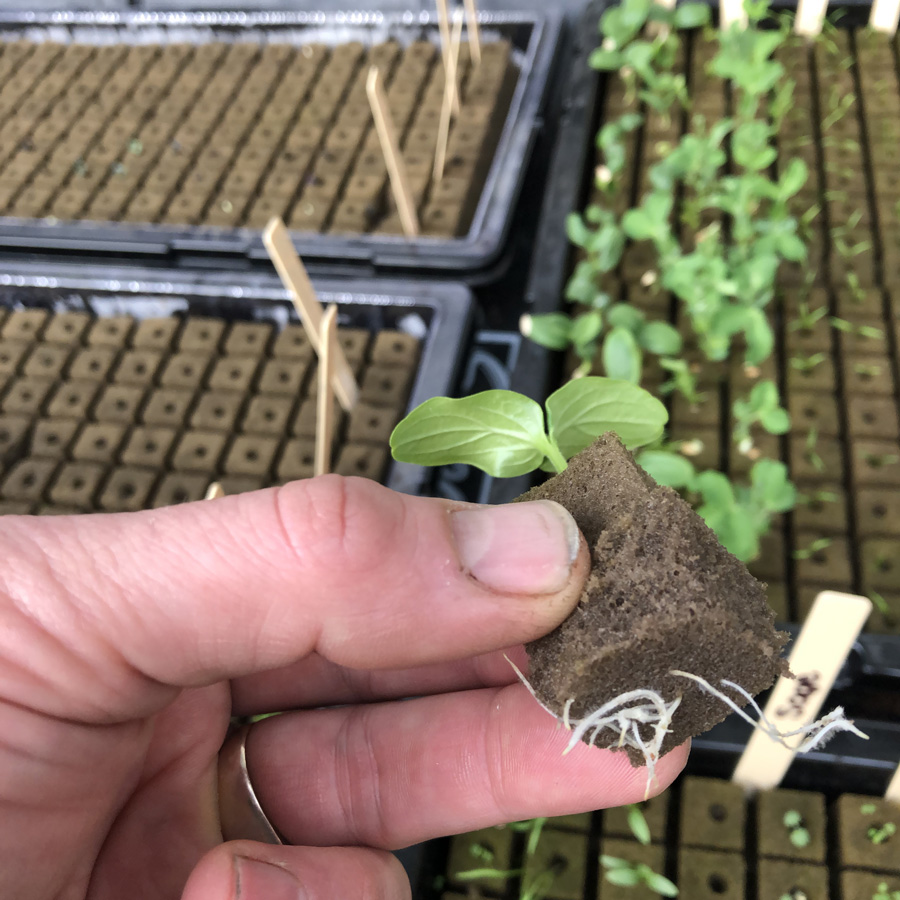
Once your seedlings begin to receive stronger light, correct humidity levels, fertility levels and at the right temperature, they can develop very fast while remaining healthy and sturdy. Usually within a week or two, it’s time to transplant your seedlings from their propagation plugs, cubes, pucks etc into containers or cell trays with more room for development. If using standard nursery pots, 2-1/2″ to 3-1/2″ pots leave plenty of room for healthy development for a few weeks. Plastic beer cups with drainage holes are a good option and can be reused many times.

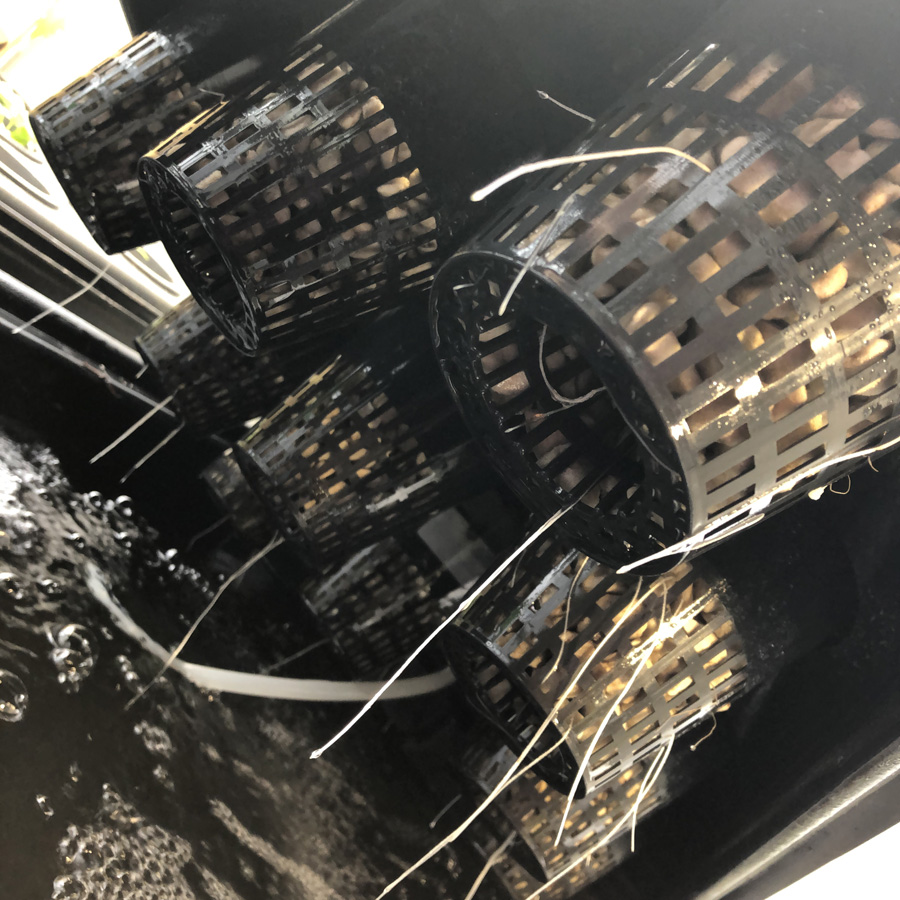
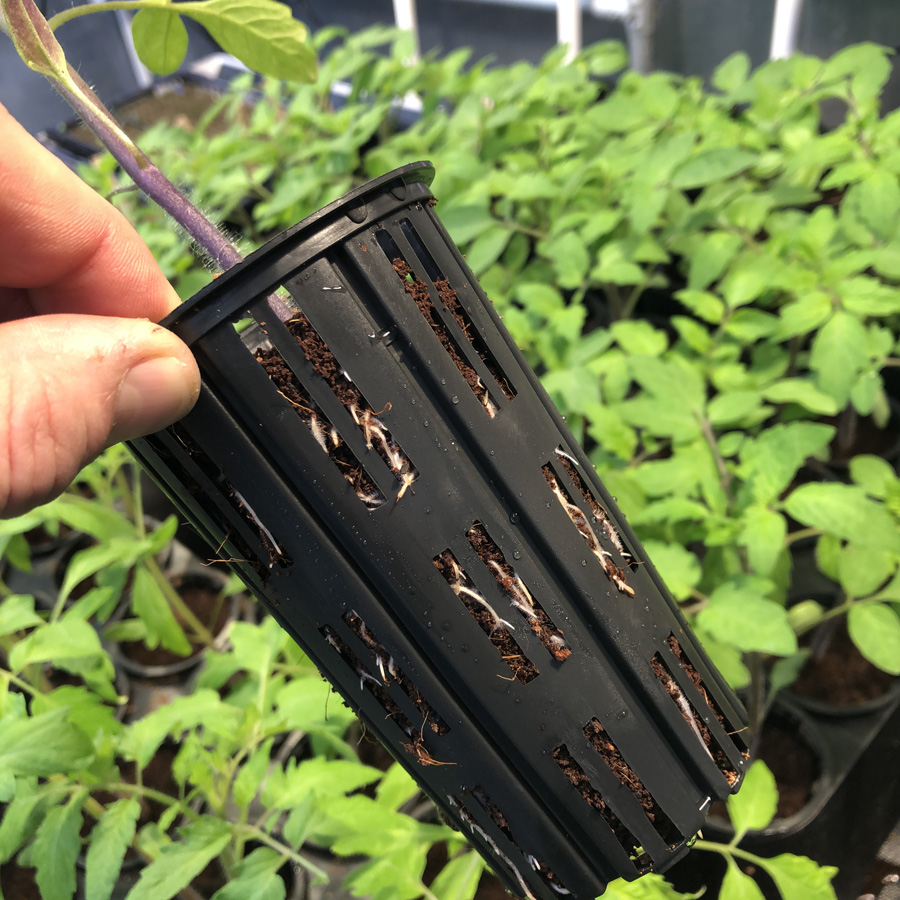
We like using RediRoot Aeration Cell Trays because the mesh containers allow roots to breather more freely and improve drainage. They also prevent root “spin out”, and stimulate roots to grow as a branched system through all of the growing media in the cell versus one long root grows mainly between the pot and the soil rather than IN the soil. Besides having a better root system, the transplants tend to grow harder and tighter, ie less stretching; producing an overall more hardy and healthy transplant.
TIP: When transplanting seedlings from cubes, pucks, etc into a pot, burry them a little deeper, ie propagation material is below the surface of the depth of potting mix. This helps to conserve height and makes for a sturdier plant later on–the stem that is buried will grow roots, better anchoring the plant.

Make sure to water right after you transplant with 1/8 to 1/4 strength complete fertilizer. Adding B Vitamins or Humic/Fulvic Acid to waterings will stimulate better root development and help reduce any stresses from transplant.
Growing Garden Transplants, Care Tips
Buy or make a few yellow Sticky Traps to keep around your seedlings; this will help you detect and monitor any potential insect pests that may become present
As plants become better established, increase light levels; established transplants can use 1800-2500 lux or 300+ uMols-1
Carbon Dioxide enrichment can really speed things up; try brewing beer or wine beside your seedlings–or simply talk to them. Foliar sprays of sodium free seltzer water also pep plants up with CO2
Gradually introduce gentle air flow, ie a small fan; this will keep plants from becoming soft and encourages them to drink more–careful not to dry out plants with small root systems
If the plant canopy is crowded and you are running out of space, prune off some of the lower foliage that is shaded to increase air movement around the plants and prevent fungal problems
Growing Garden Transplants, Hardening Off
Once it’s time to plant outdoors or sell/transport your young plants, it’s time to tell them the easy life is over. This means hardening them off. Basically, you want to gradually acclimate your tender young plants to natural sunlight light, cooler conditions, more air movement, etc. If possible, put your plants outdoors in a sunny but protected area for a short period, then bring them back in. Repeat this, lengthening the amount of time they spend outdoors each time. You will notice stems firm up, and once finally planted, your transplants won’t experience too great a shock–if done properly, they will be happy to be outdoors and take to their final environment like ducks to water.
Growing Garden Transplants, Hydroponics
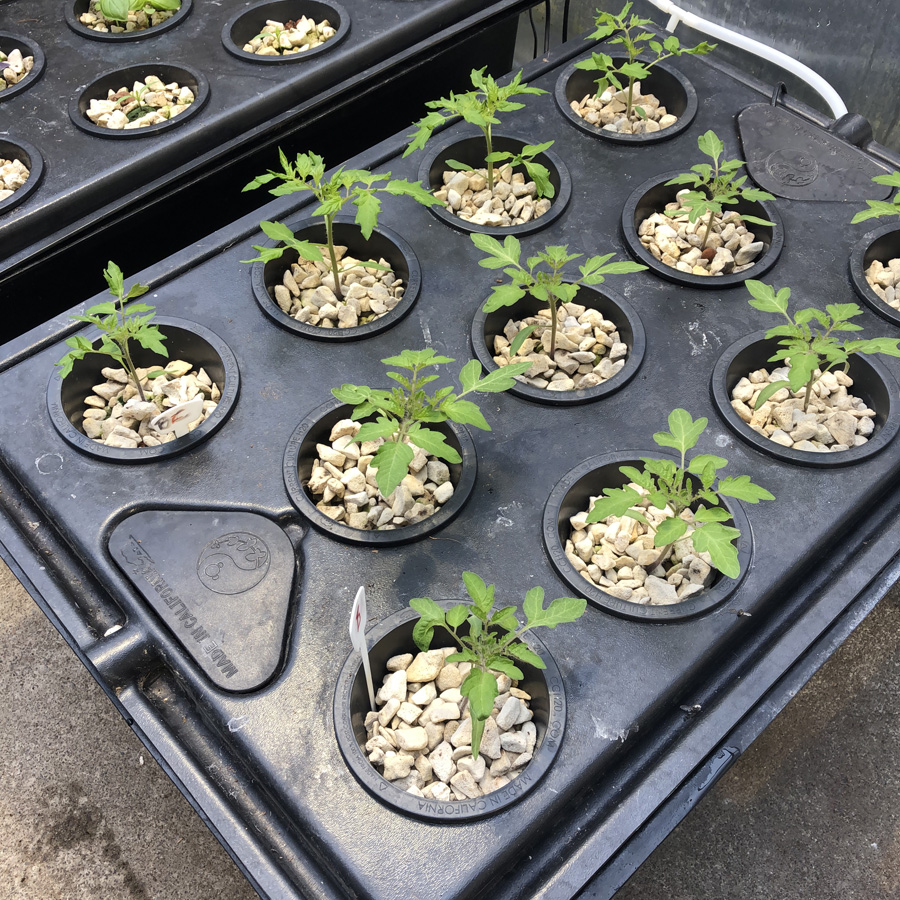

A lot of what we discussed above is completely applicable to growing garden transplants for hydroponic systems, however, there are some things that are different.
Firstly, water quality, nutrients and pH are much more critical to monitor and control–soil; or soilless mix is much more forgiving. Make sure to use complete specialty hydroponic fertilizers and follow directions carefully. Typically, you can use half of what the label says for each plant stage and increase the concentration until you find the sweet spot for your plants.
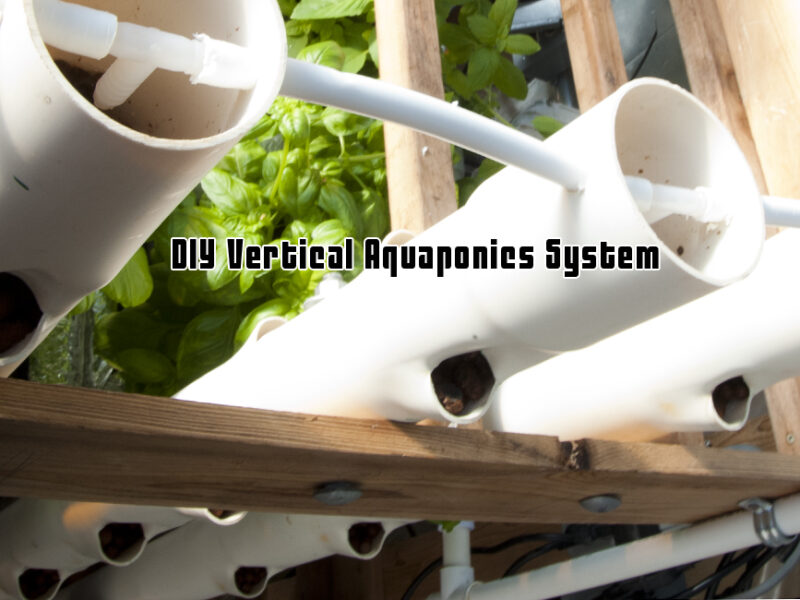
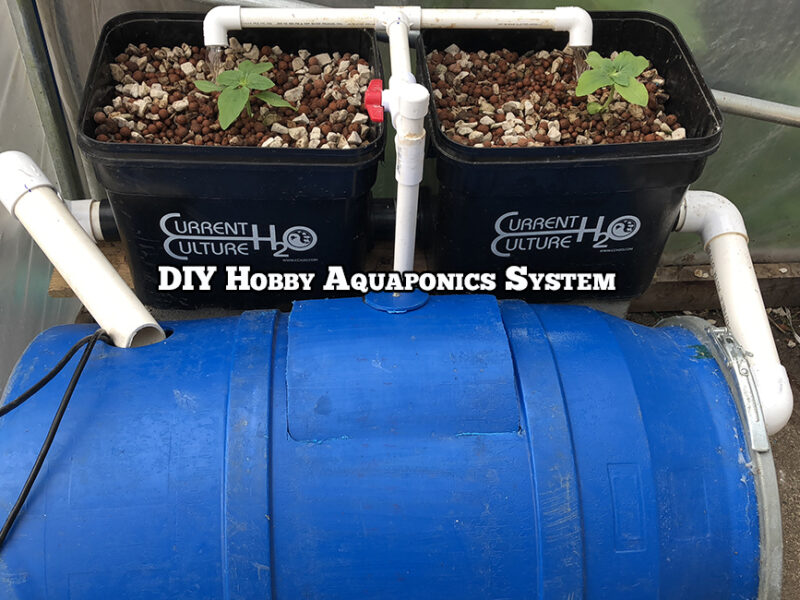
With hydroponics, the growing media does not directly supply and nutrition to the plants. The growing media should be sterile and inert; it is intended to support the plant–the oxygenated nutrient solution is where the majority of the roots will grow. A DWC (deep water culture) system is inexpensive, simple and reliable and allows you to grow a wide variety of transplants, and with good numbers in a limited amount of space. With DWC, you can keep expanding by adding new modules as plants get bigger. Everything in DWC systems is reusable and they save a lot of water versus conventional gardening. Flood & Drain gardens are also great but tend to require using more specialty growing media, ie rockwool cubes or grow rocks.
