
Aquaponics Cuttings
Starting Plants Without Seeds, Naturally.
At times, it can be advantageous to start crops from cuttings rather than from seed. For aquaponics plant production purposes it can mean faster harvests versus staring from seed. Working from known parent material also has other advantages; mainly plants should grow at near identical rates and tend to exhibit slightly more compact growth habits; perfect for our vertical aquaponics system.
Here is a basic guide that serves as great “chem free” How-To you can follow to produce cuttings whether for organics, hydroponics or aquaponics gardening. In producing aquaponics cuttings, the goal should be to avoid using any chemicals whatsoever. In conventional plant propagation to produce cuttings materials like like synthetic rooting stimulators or plant nutrient additives that contain other substances besides fertilizer may be used, but should be avoided here. To date, the crops we have been growing via aquaponics receive no outside fertilizer materials–the fish produce all of our nutrients an are fed with organic cereals high in Omegas, primarily. Because we aren’t using hormones, we expect a slightly longer time to produce roots–usually about 25-35% longer in either conventional or aeroponic methods.
Note that aeroponic rooting methods can be adapted to root cuttings for plants used in aquaponics gardening. By following Aeroponics Cloning Basics, and simply not using any rooting stimulators or other solutions used in conventional aero cloning methods, you have a great way to produce rooted aquaponics cuttings with several advantages. Aeroponics cloning typically does not require any materials that need replacing; just scrub and sterilize the system, and you are ready to plant again to produce bare rooted cuttings with lots of leaves intact–and in a very quick time frame, typically.
***stay tuned to our Social Media sites like Instagram to see Aeroponic Rooting VS Conventional Rooting Grow Trials–we’re always trying something new in the research greenhouse and share daily via postings.
***UPDATE*** In the Video clip below we compare root development after six days, Aeroponics VS Bio Plugs method. While both methods are totally organic, the aeroponics method produced roots faster (and more of them).
[youtube width=”560″ height=”315″ video_id=”LiJ9kYkk5qU”]

Materials for Producing Aquaponics Cuttings:
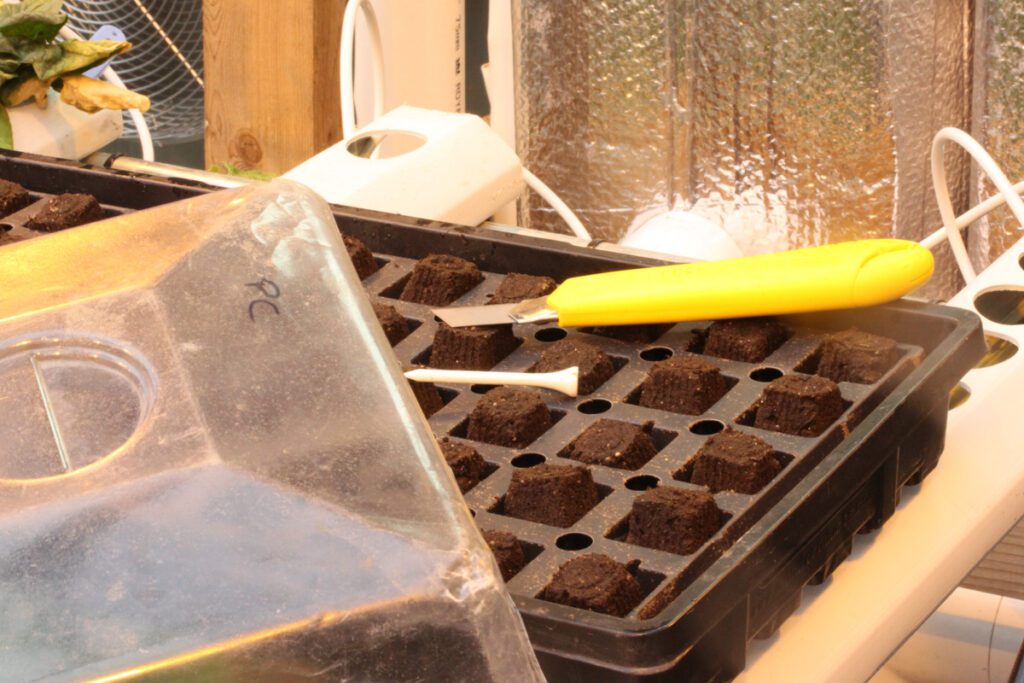
- “natural” rooting media that holds plenty of air; plugs, coco coir, peat mix, and vermiculite perlite mixes all work great
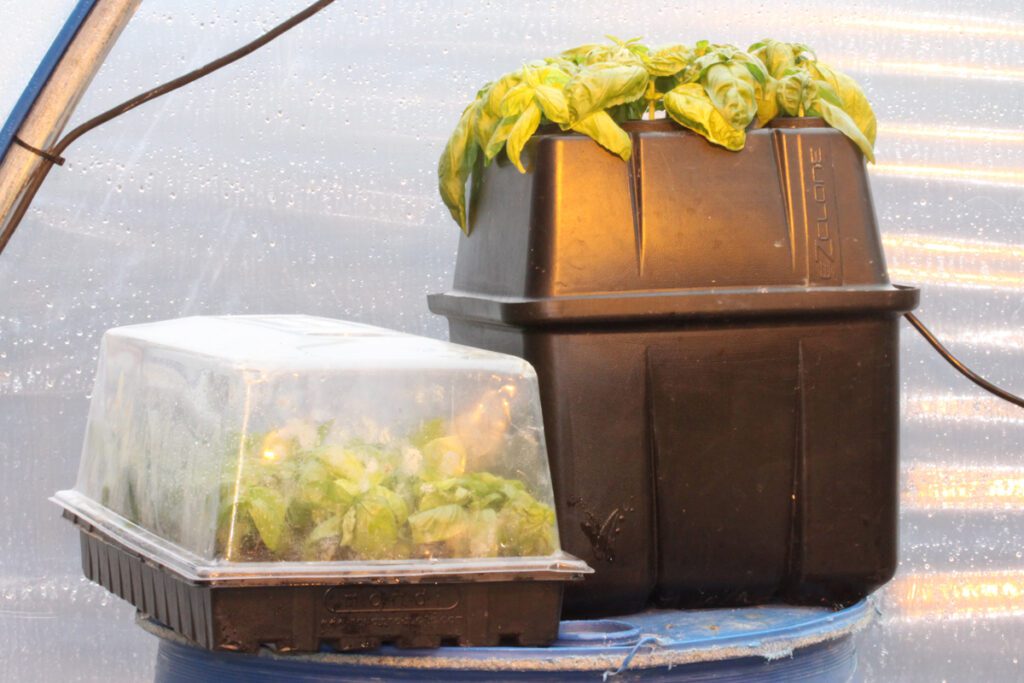
- propagation flat & dome (tall domes work best, make sure of a snug fit to tray*important*)
- propagation flat insert (optional, recommended)
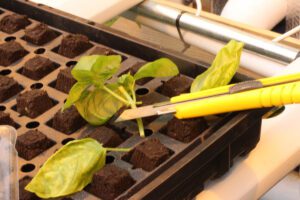
- sharp, sterile razor
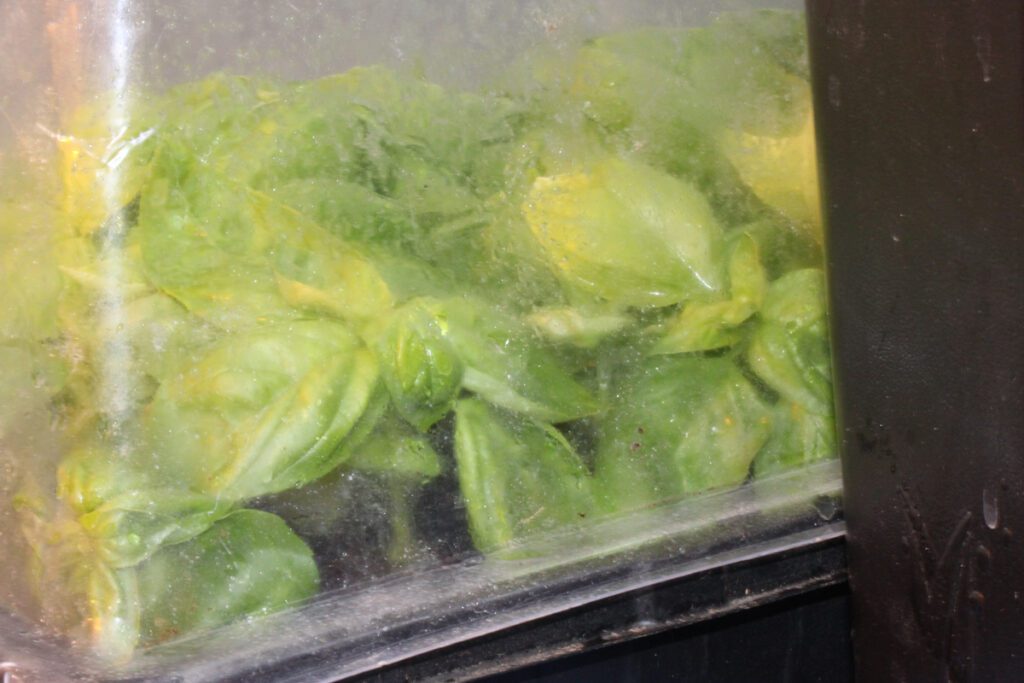
- healthy aquaponic donor or mother plants (we used basil here)
- a peg, nail, or screw to poke holes to place cut stems into
- spray bottle
- clean, dechlorinated fresh water
- thermometer
- A clean glass of fresh water
Special Notes: We used a greenhouse with supplemental lighting. Indoors, T-5 flourescent lamps work great. You don’t need very strong light to produce cuttings, they prefer weaker but constant light levels. Usually 16-18 hours of “ON” time is best. A Heat Mat mat be required on a cold window sill. “Cold Feet” during propagation can lead to stem rot and other problems.
[ml-adverts location=home-page-content-banner-3]
Step By Step Instructions to Produce Aquaponics Cuttings:
Prepare: Gather your materials, and give your propagation trays and humidity domes a wipe down with a mild solution of bleach and water if they are not brand new, wash well with fresh clean water. Moisten your rooting media with fresh clean filtered water (avoid chlorine) or better yet, use the water from your aquaponics tank if it is healthy and the pH will work with your rooting media. Note: we used peat based plugs (acidic) and the water in our Tilapia Tank is alkaline, so we have a good balance when the two meet. Make sure the sharp razor you will use is wiped clean, and is sterile. Poke holes slightly smaller than your cut stem thickness into the depth of the rooting media. Usually a half inch to an inch is a good depth. Have everything ready to use within an arms reach–speed is of the essence once the material is cut.
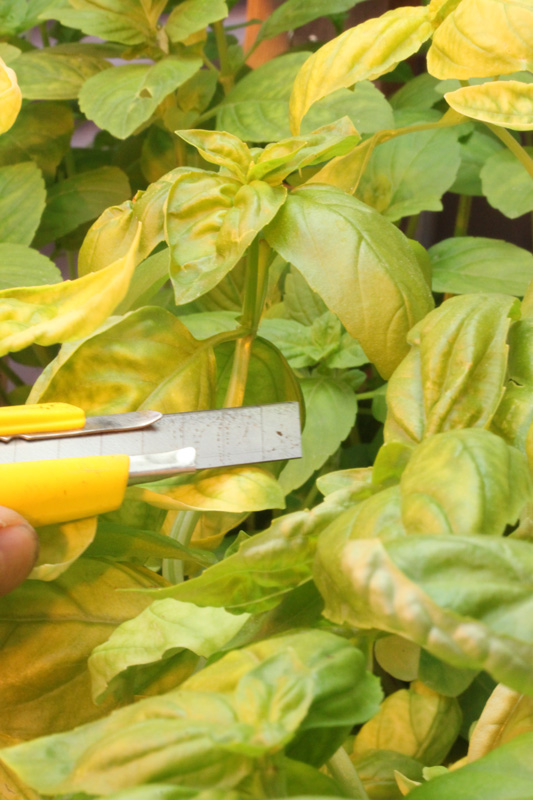
Inspect Mother or Donor Plants: Are the plants healthy and free of problems? If they have insects or other problems, you will be wise to rid them of these problems first. Otherwise you are simply propagating problems rather than healthy future crops. If there are any flowers, snip them off–ideally, plants will be in a healthy and active vegetative (leaf) state of growth. Make sure the donor material is well hydrated before you take any cuttings. starting plants with no roots that are already experiencing a water deficit is not starting off on the right foot.
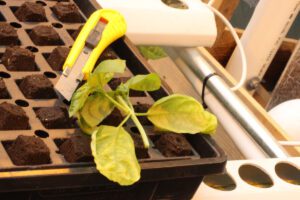
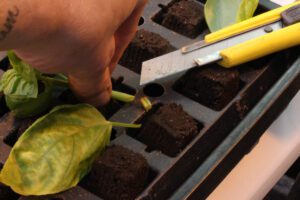
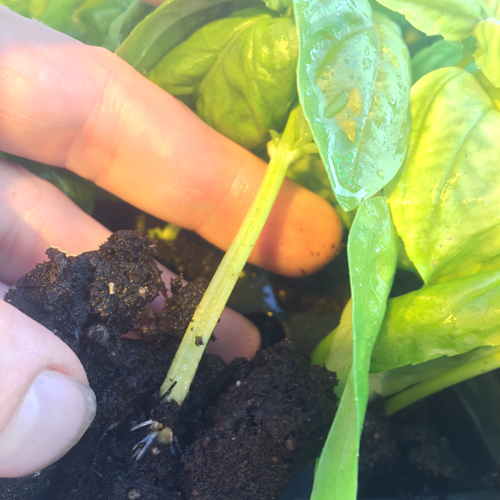
Take Cuttings: If you can work easily in close proximity of the donor plants, ie an arms reach, you can take and stick cuttings (place into media) one at a time. This tends to be best. Otherwise, place the cut stems immediately into a fresh clean glass of water until you have gathered enough cut material to take to your propagation area to stick into media and trays for rooting. Strip away all but the top crown of leaves. TIP: take cuttings slightly longer than needed, right when you are about to stick into media, make a final cut and place quickly.
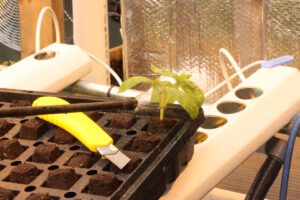
Once cutting is stuck into rooting media, give a light spray with fresh clean water to keep the plant material hydrated. Avoid working in breezy or ventilated areas–shut fans off while taking cuttings, if necessary.
Debatable: Some gardeners say to have at least one node below the media, ie a leaf site, stripped bare to ensure good rooting. To date, we’ve rooted a variety of plants with and without nodes below and have yet to note a difference.
Repeat as Necessary, Cover with Dome: Continue until you have enough cuttings or have exhausted the donor material. While healthy mother plants will grow back from the nodes that remain, be kind and gentle. Give the stressed donor plants some time to recover and regrow sufficiently before harvesting more donor material for cuttings again.
